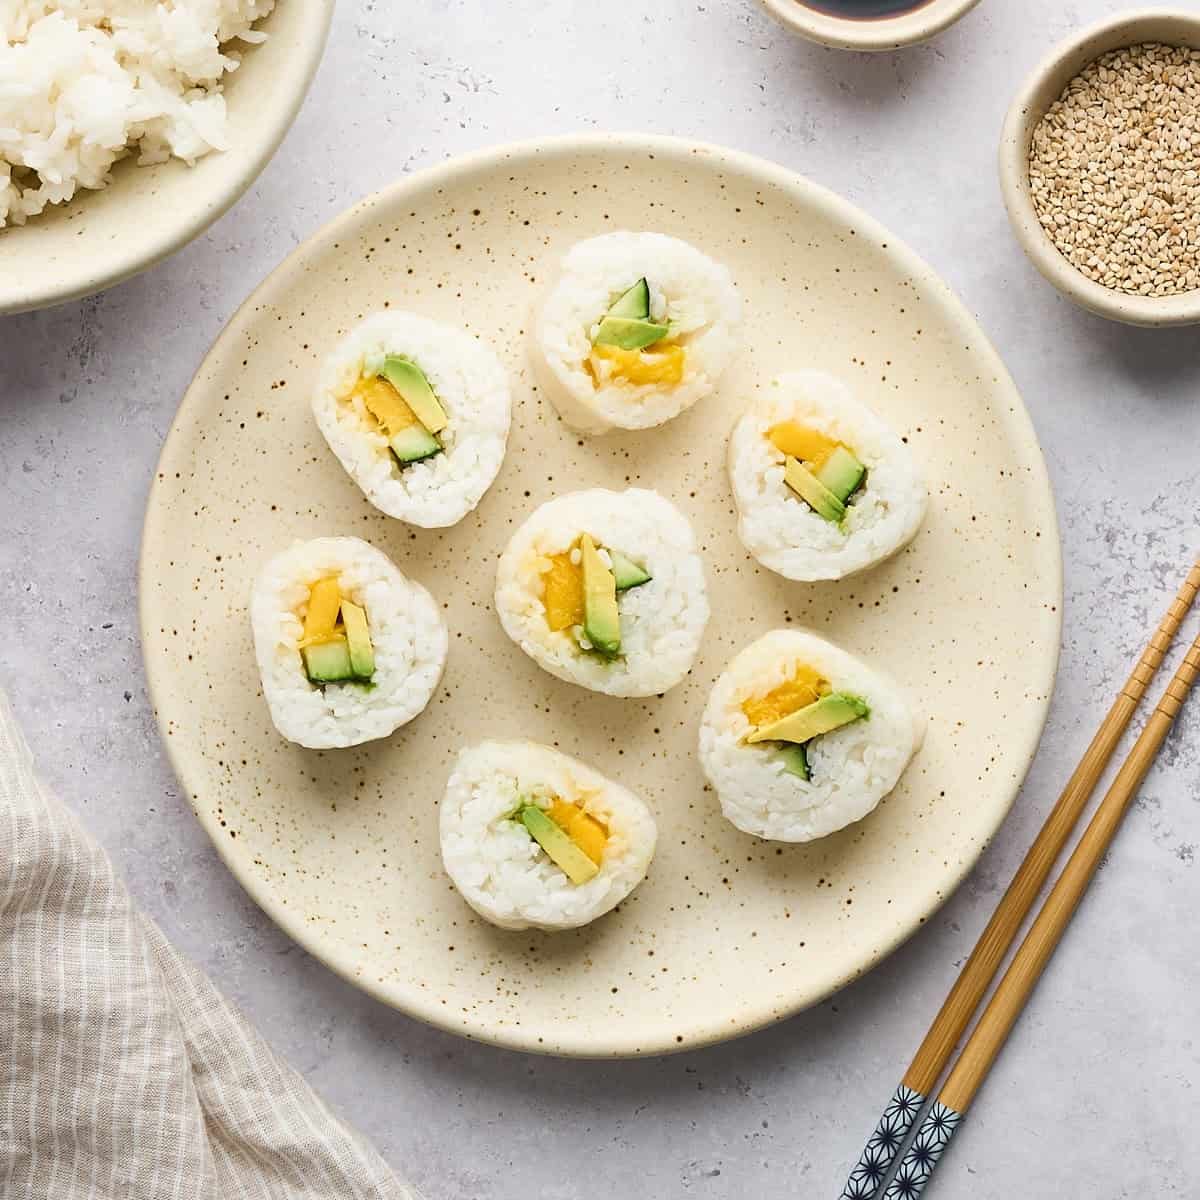
Sushi Without Seaweed (Ready in 10 Minutes)
Sushi without seaweed might sound unconventional, but it’s a delicious twist on traditional sushi rolls, especially if you don’t like nori! This recipe simplifies the process even further by using fresh ingredients like mango, cucumber, and avocado.
If you’re planning a homemade sushi night but are unsure about your sushi skills or have allergies, this seaweed-free version is as easy as it gets! It all starts with Instant Pot sushi rice, which comes together in no time. Plus, no nori means it’s more crowd-pleasing!
Why I love this recipe
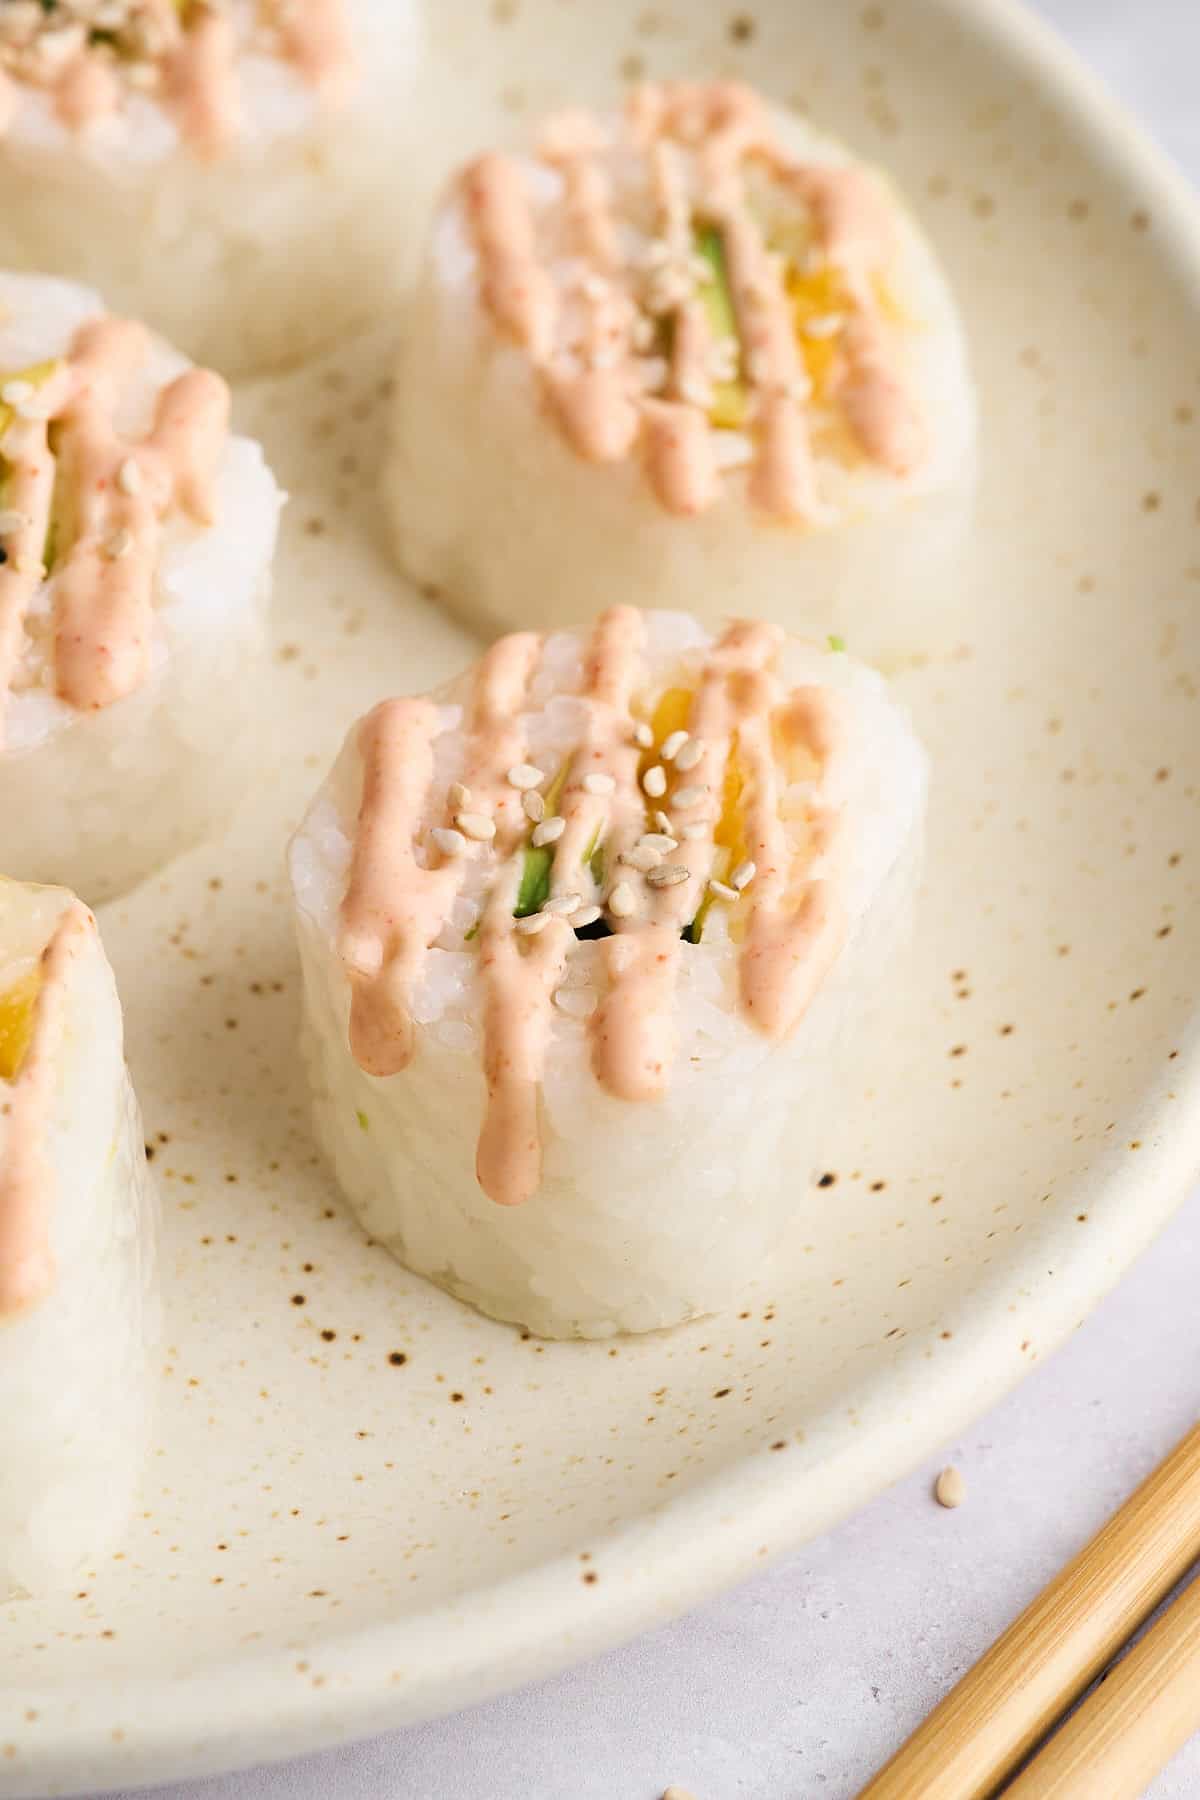
This sushi without seaweed recipe features minimal ingredients and steps, making it an easy and budget-friendly option for any day of the week. The combination of ripe mango, crisp cucumber, and creamy avocado creates the perfect balance of refreshing and satisfying textures and flavors.
You’ll just need a bamboo mat (makisu), some cling wrap, and a sharp knife. I also use my handy Instant Pot for the sushi rice, which reduces the cooking time and results in perfectly tender rice every time.
The slightly tangy and sweet rice seasoning, paired with fresh fillings and optional spicy mayo, can’t be beaten. If you or your little ones don’t enjoy the taste of nori, this recipe is for you!
Ingredient notes
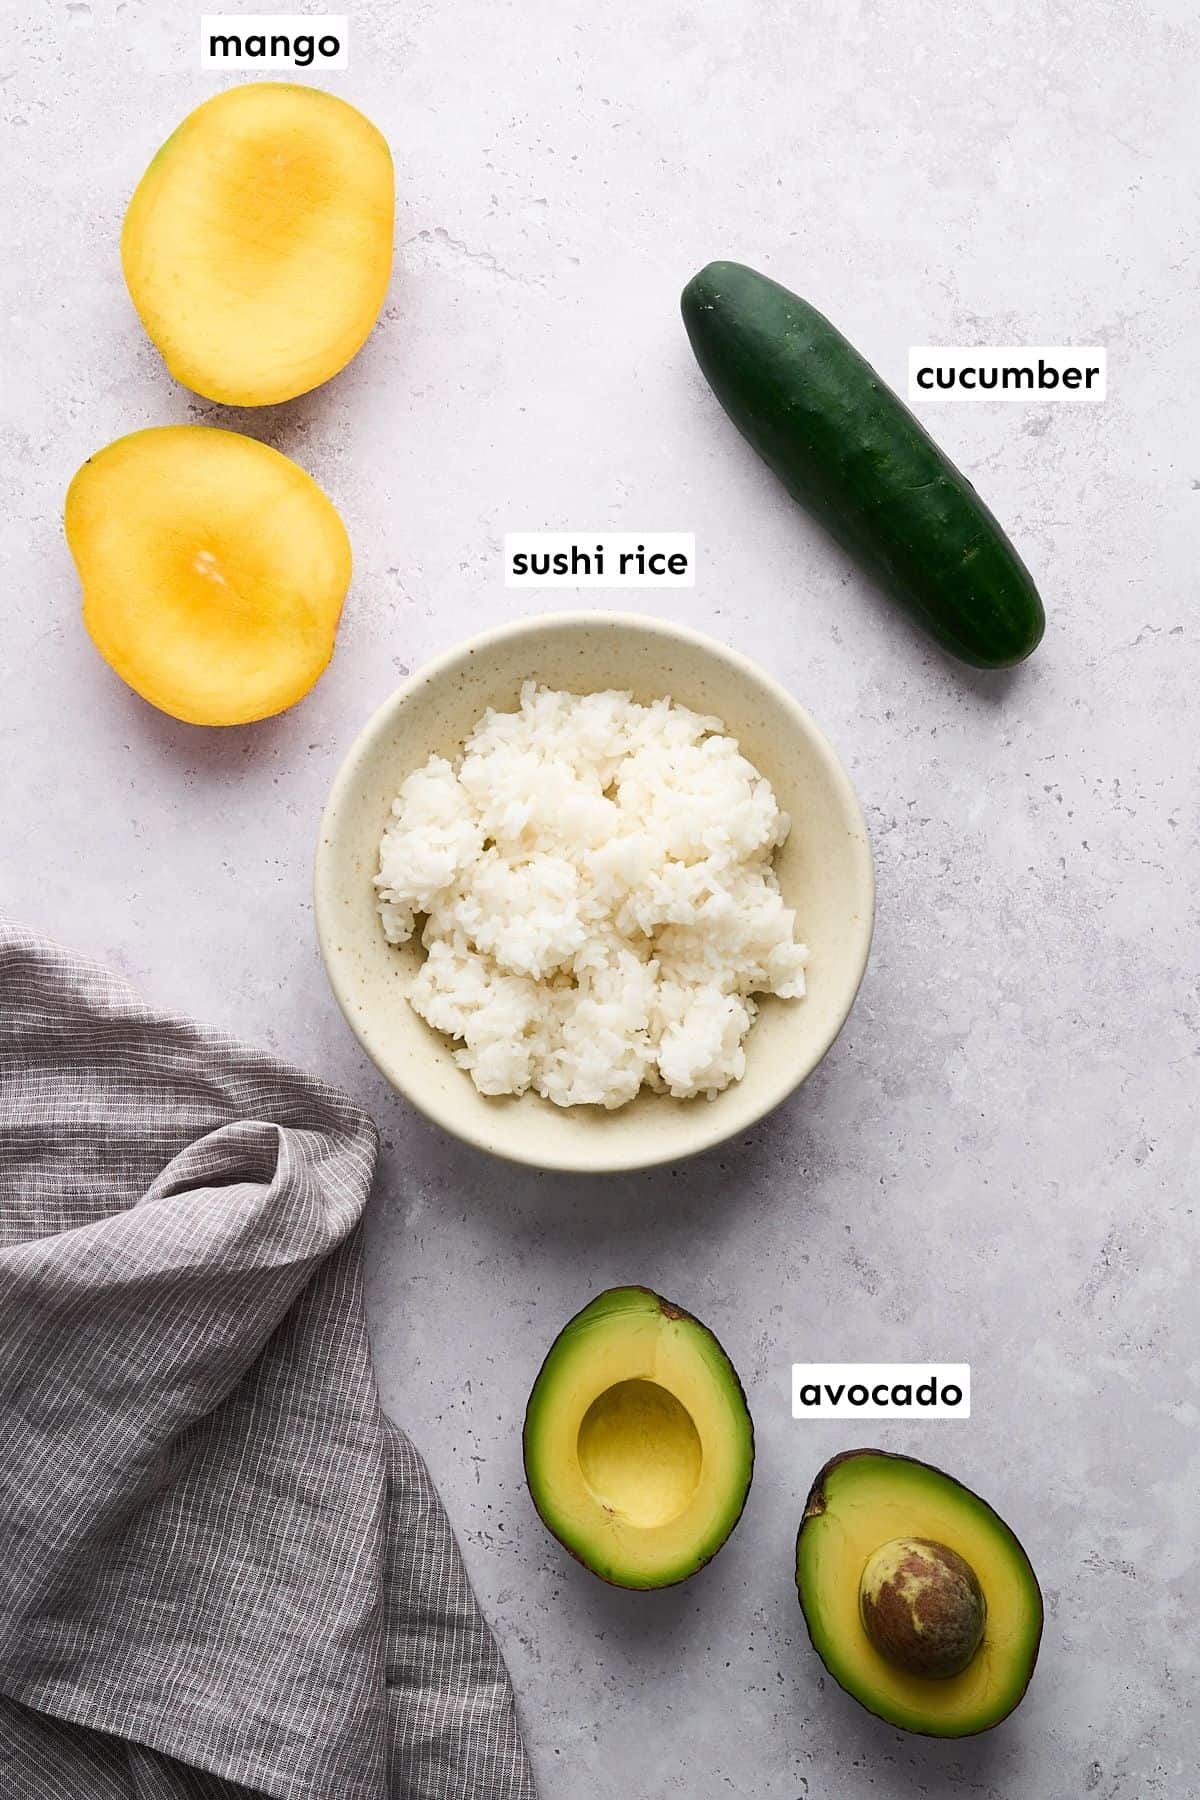
There are only 5 ingredients that go into this sushi without seaweed recipe. Find a breakdown and suitable substitutes below!
Sushi rice
The foundation of any sushi recipe, sushi rice is seasoned with a mix of vinegar, sugar, and salt, providing a sticky base. Look for Japanese short-grain rice in the international aisle of grocery stores or Asian food markets. My go-to brands are Calrose, Nishiki, and Kokuho Rose.
Substitute: Brown sushi rice can be used as a whole-grain, nuttier alternative, but it will slightly alter the taste and texture.
Mango
Mango adds a sweet, tropical flavor to the sushi, providing a juicy contrast to the other ingredients. I also love the vibrant color it adds! You can use Ataulfo, Tommy Atkins, or any variety that’s available near you.
Cucumber
I love to add cucumber for a refreshing crunch that balances the sweetness of the mango and the creaminess of the avocado. Feel free to use English, Persian (mini), or field cucumbers.
Substitute: Red, yellow, or orange bell peppers will also work for a different but equally crispy texture.
Avocado
Avocado provides a rich, buttery texture and subtle nuttiness that ties the flavors togethe in the filling. I prefer Hass avocados for the creamiest results.
Substitute: Try thinly sliced vegan cream cheese or regular cheese. Or, steam and slice some orange sweet potatoes for a sweet, creamy texture.
Rice paper
I prefer to use square rice paper wrappers to emulate nori sheets, but round rice paper wrappers work just as well. Look for these at your local Asian food market or the international aisle of large grocery stores.
For a complete ingredient list and step-by-step guide, scroll down to the recipe card.
How to make
Learn the easiest way to make sushi without seaweed with step-by-step instructions. Look for the tips in green throughout this section for consistent and successful results!
Preparation
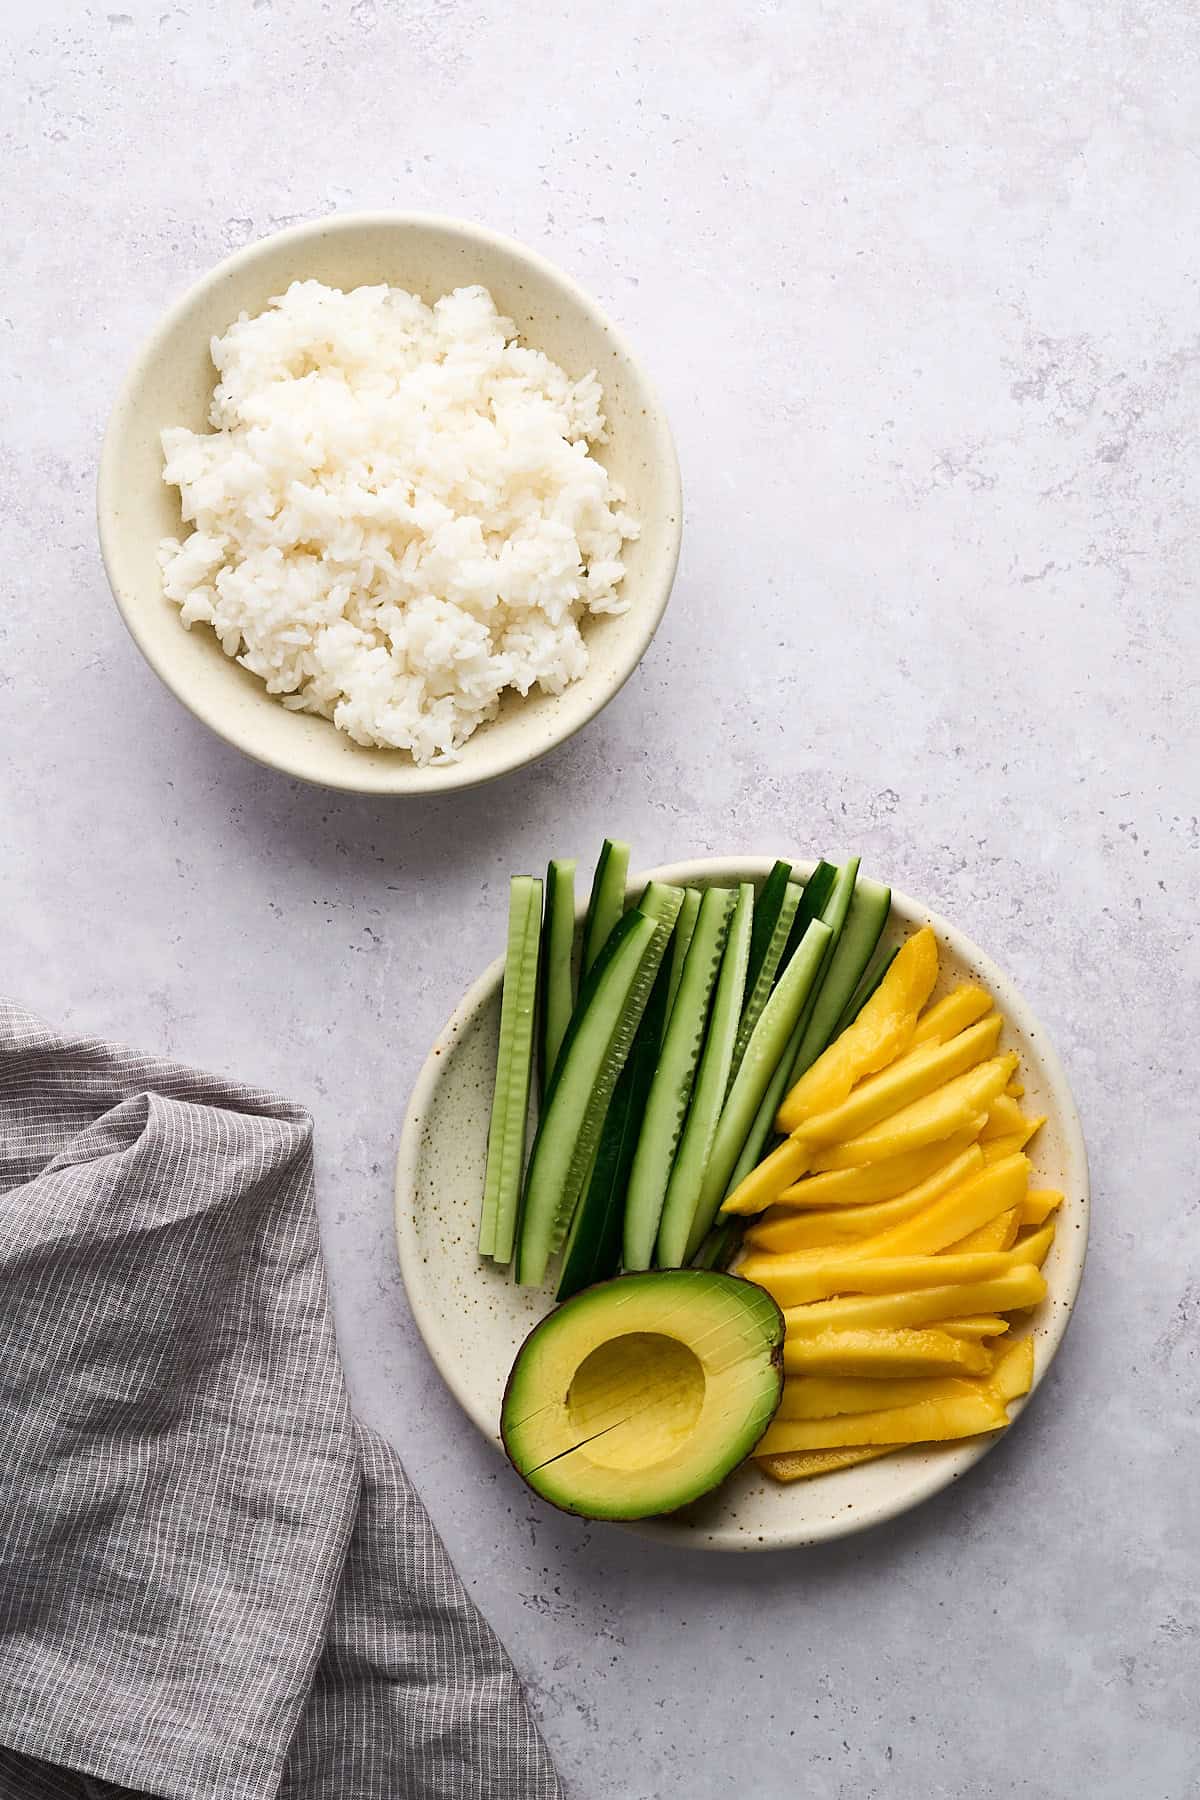
Begin by preparing your sushi rice with my Instant Pot sushi rice instructions. In the meantime, peel and slice the mango, cucumber, and avocado into thin strips.
Cooking
Step 1
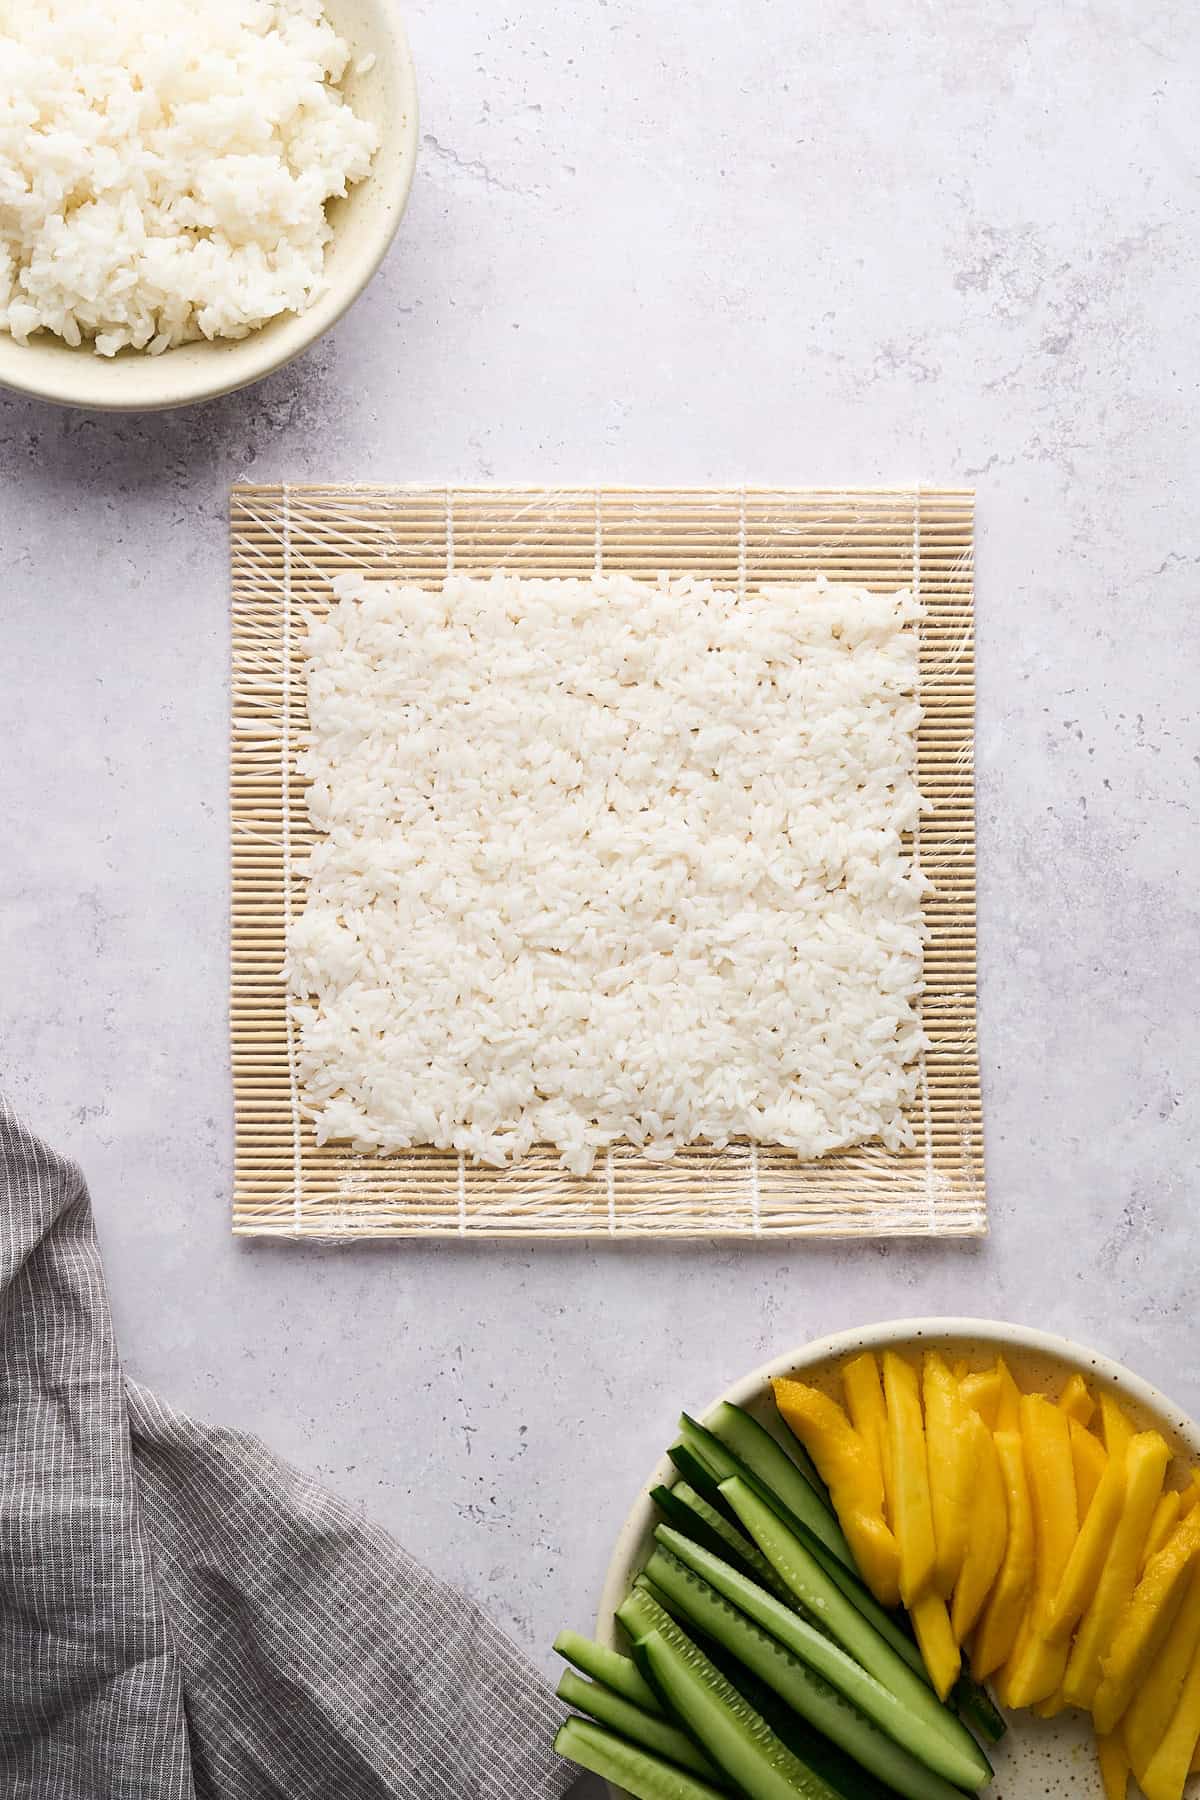
On a makisu wrapped in plastic wrap, add a dry rice paper wrap and spread a thin layer of sushi rice, leaving some room at the top edge. Wet your hands to prevent sticking and achieve a smooth, even layer.
Spreading the rice while it’s still slightly warm makes it easier to handle and stick together better.
Step 2
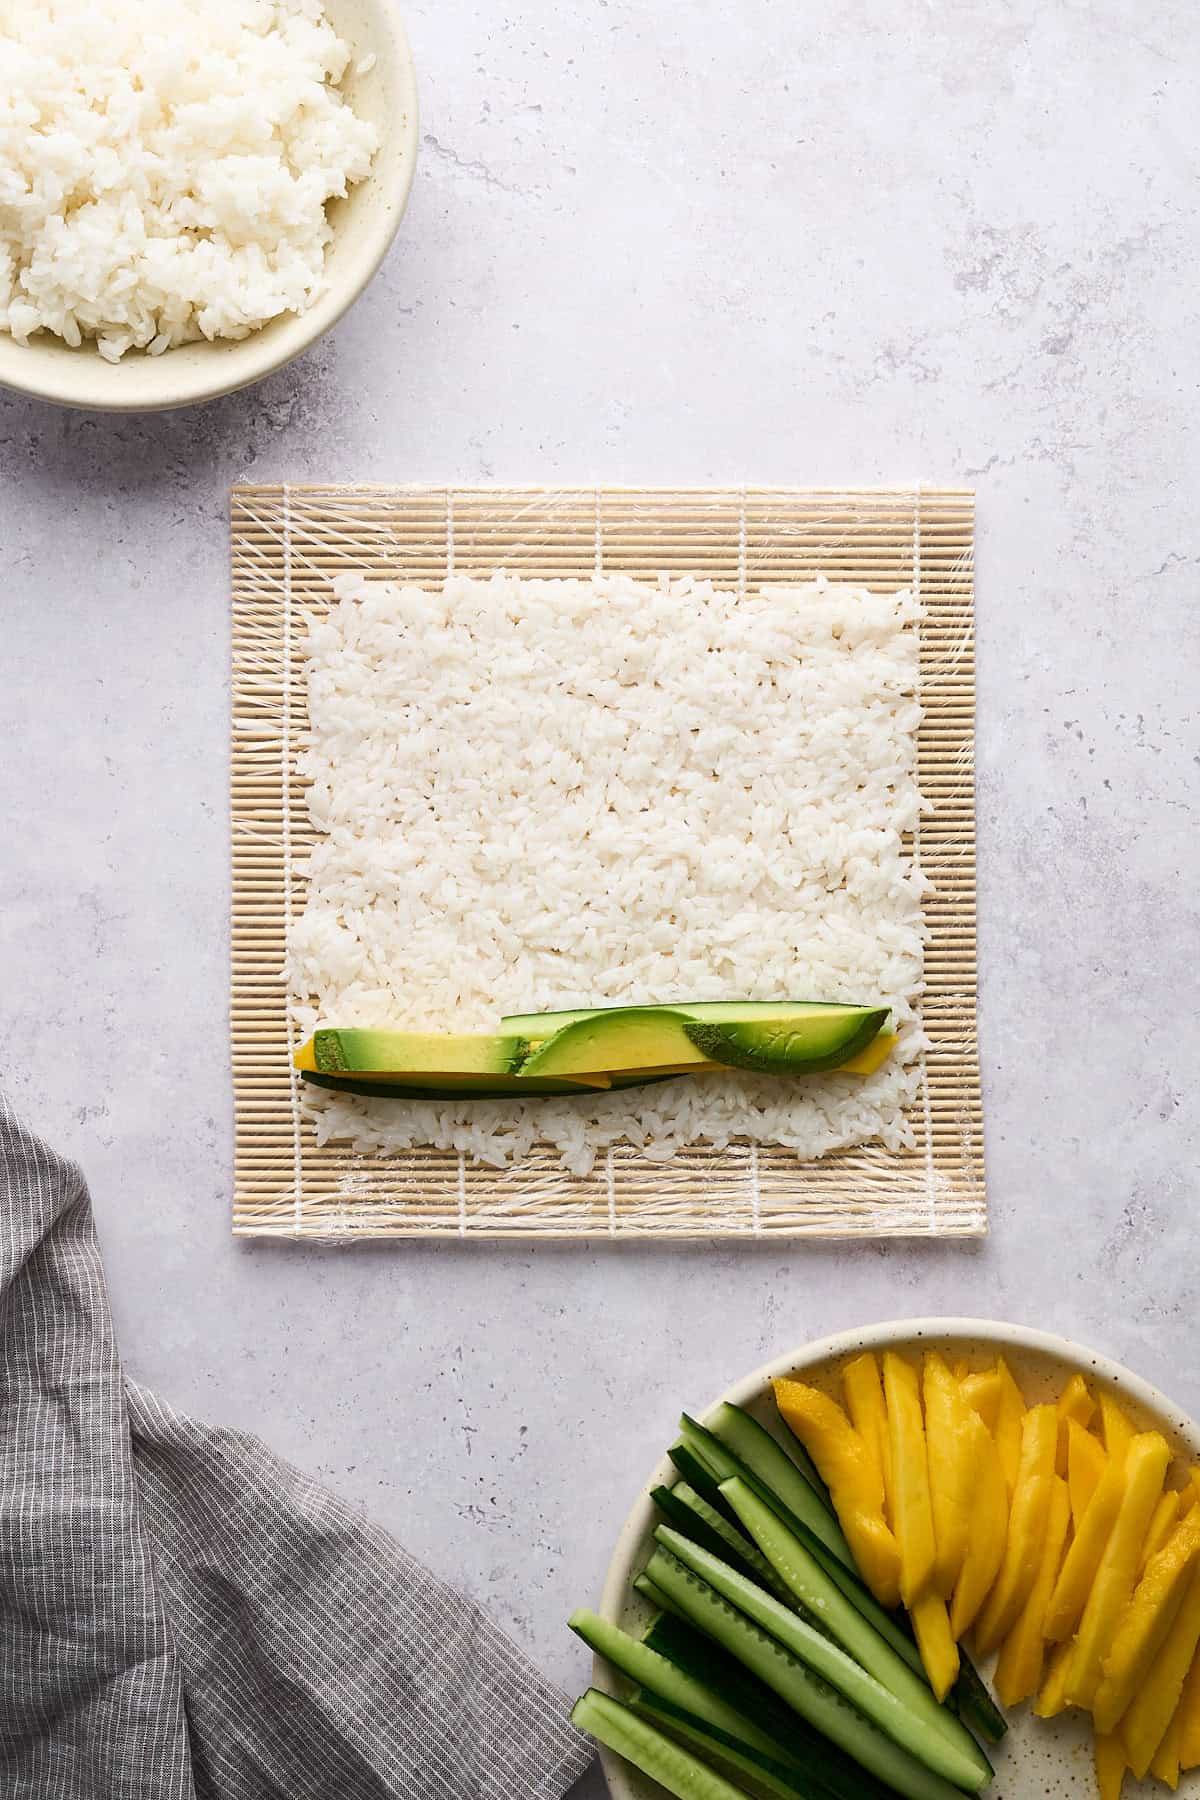
Arrange mango, cucumber, and avocado slices on top of the rice towards the bottom edge.
Keep the fillings neatly lined up and don’t overstuff it to make rolling easier.
Step 3
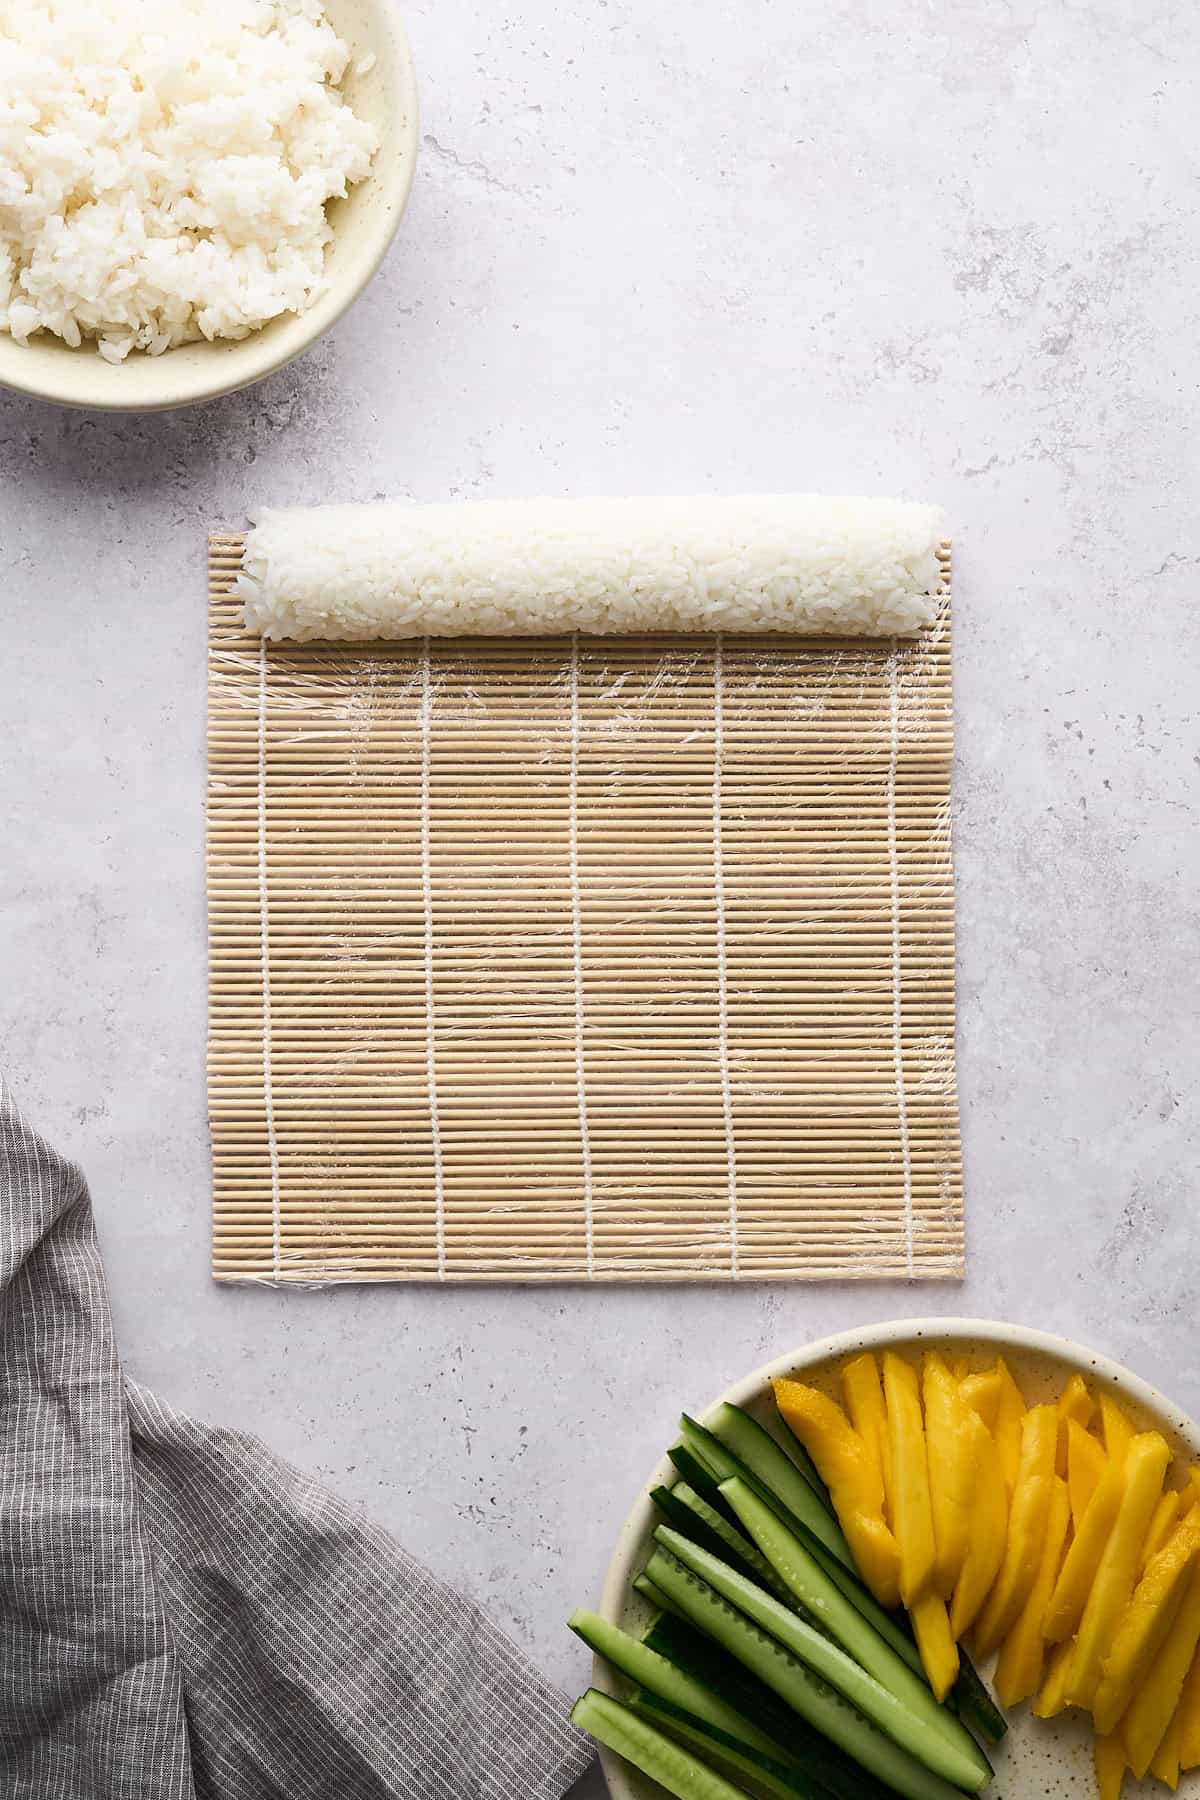
Carefully roll the mat over the fillings, pressing down firmly but gently to form a tight roll. Pick up the tucked portion of the sushi mat and roll it a little further until it is completely rolled.
Practice makes perfect! Don’t worry if your first few rolls aren’t 100% — it’s all about trial and error here.

Step 4
Wet the top edge of the rice paper with some water to help adhere it. Once the sushi is rolled, wet your fingers or a pastry brush and brush the outside of the roll with a little water to help soften the rice paper.
It’s MUCH easier to dampen the rice paper after rolling it. In my testing, I found it sticks way to easily to the makisu if you dampen it beforehand.
Step 5
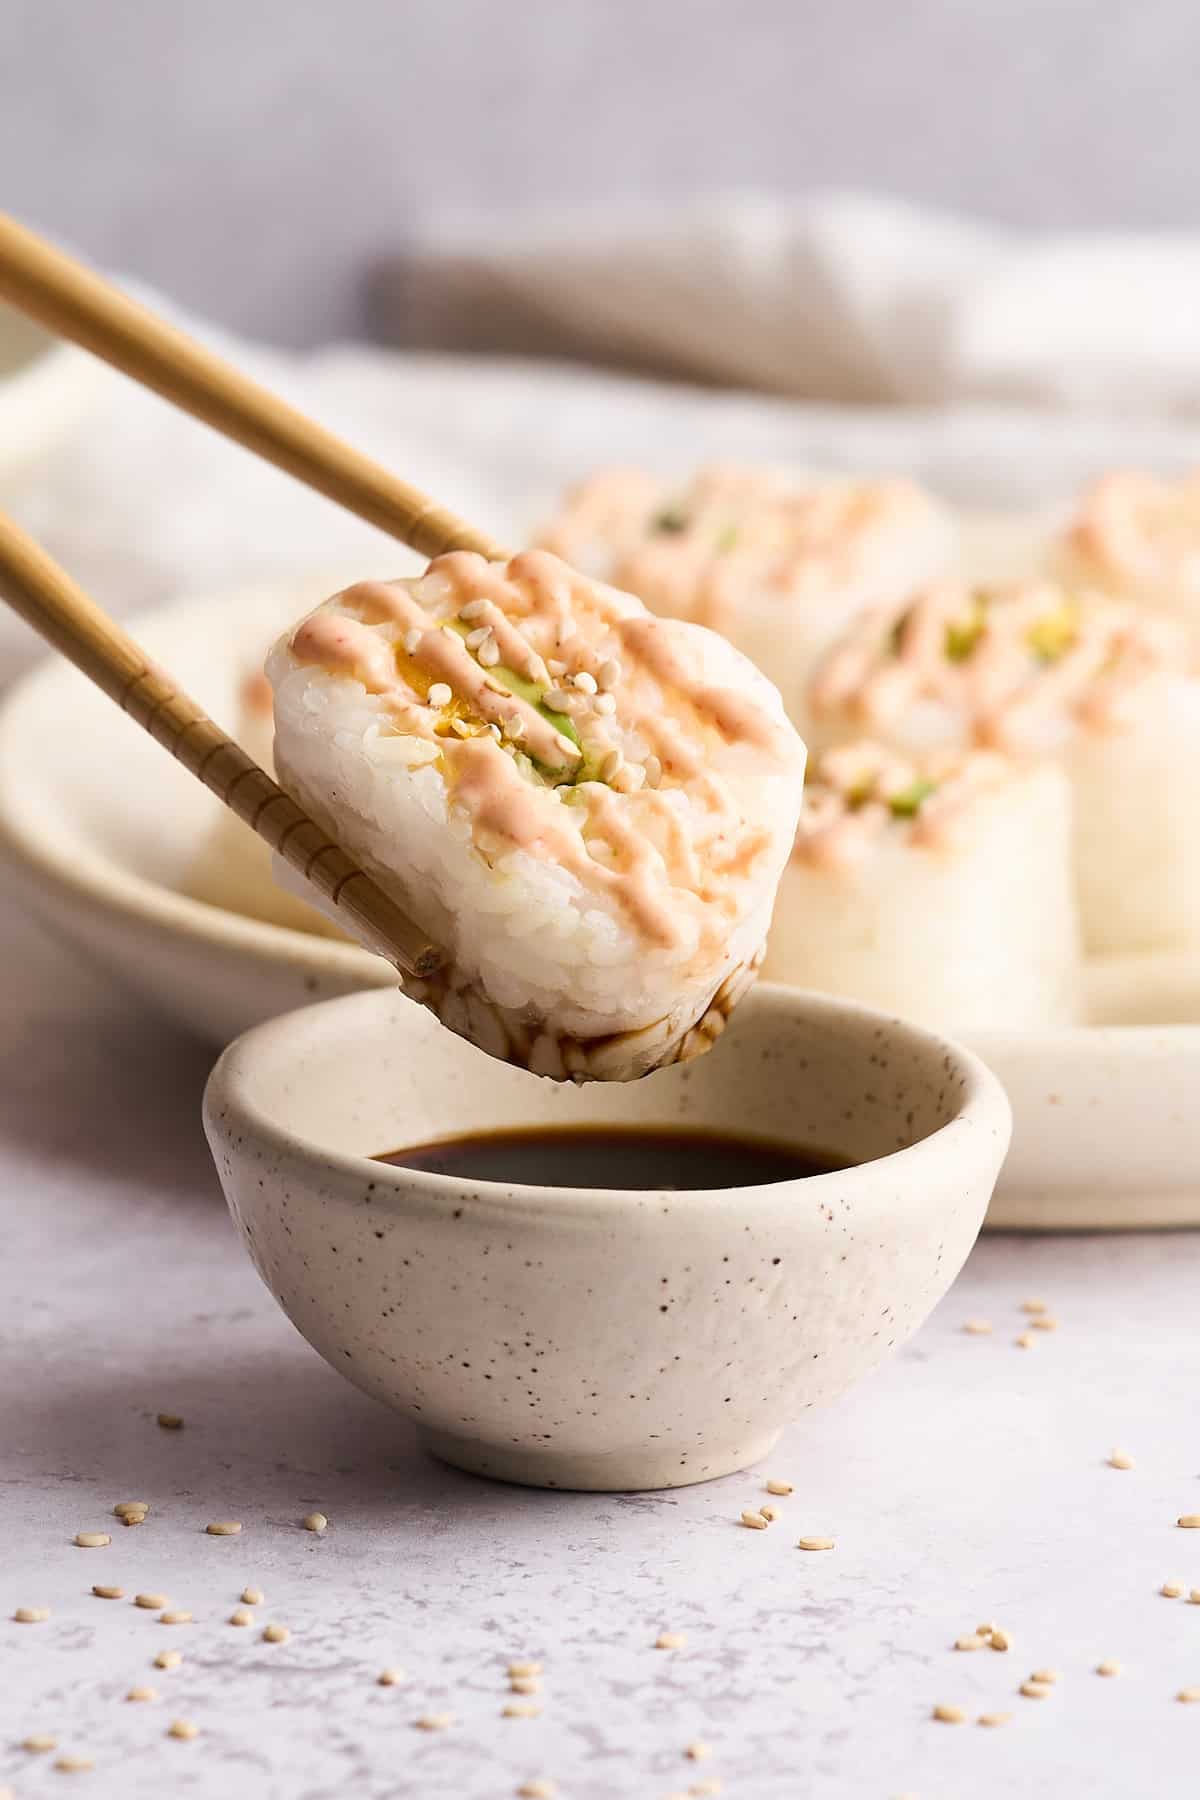
Wet your knife with a damp towel to prevent sticking, then gently cut the roll into 8 pieces using long slicing motions. Serve immediately with soy sauce, spicy mayo, and sesame seeds. Happy eating!
Wet an extra sharp knife with water to prevent the rice from sticking to the blade, making cutting through the sushi easier and cleaner.

Expert tip
To make the very BEST sushi without seaweed, you need to nail your sushi rice! The term sushi literally means “sour-tasting”, in reference to the seasoned rice, so it’s important to properly wash, cook, and season it.
Seasoning the rice with the right balance of rice vinegar, sugar, and salt not only flavors the rice but also gives it a glossy appearance and helps to maintain its stickiness. Check out my Instant Pot sushi rice recipe for the correct measurements and more cooking tips.
When you’re rolling your sushi, apply even yet gentle pressure to form a compact roll without squishing the fillings. Sushi making is an art that improves with practice, so don’t be discouraged if it doesn’t look exactly how you expected it to at first!
Variations
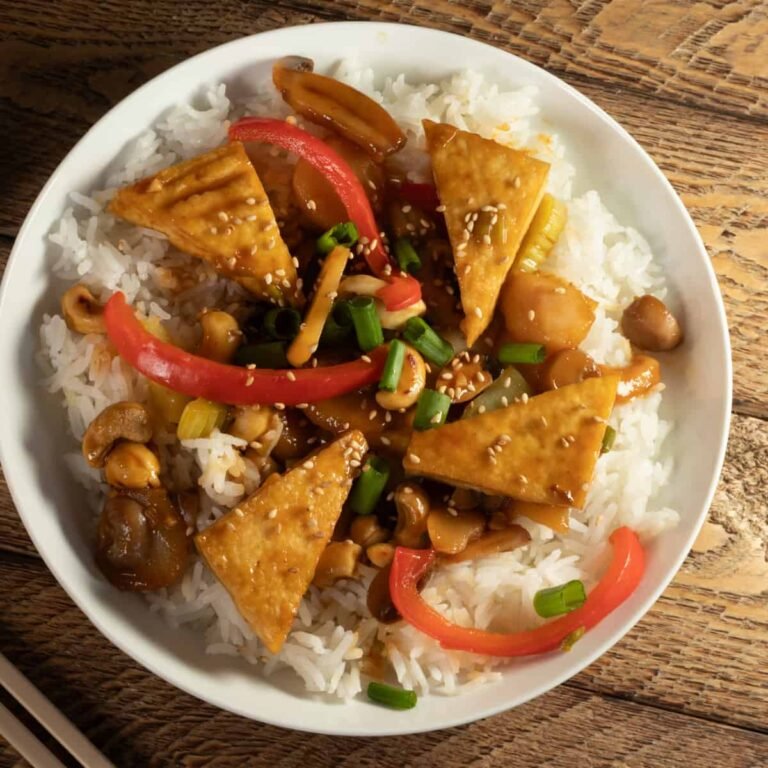
Protein: Add slices of marinated tofu or tempeh for a protein boost.
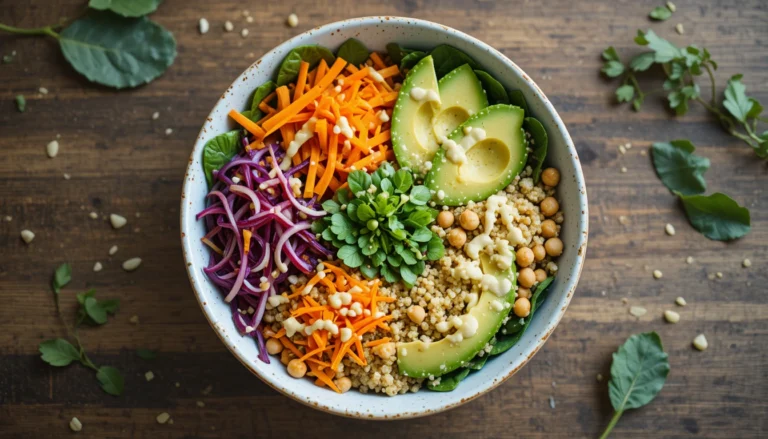
Rainbow rolls: Incorporate a variety of vegetables,, such as bell peppers, purple cabbage, bean sprouts, marinated shiitake mushrooms, and carrots.
Spicy: Add some spicy vegan mayo or a drizzle of sriracha inside the roll for a kick!
Serving suggestions
You can’t go wrong with miso soup for a warm and soothing balance to fresh sushi rolls without seaweed. If you’re creating a sushi platter, try serving this recipe alongside a classic avocado roll.
For dipping, I like soy sauce, vegan Sriracha mayo, or a drizzle of vegan teriyaki sauce. Each one can be tailored to your liking in terms of sweetness, saltiness, or spiciness!
Cooking tips
Uniform slicing: When you’re preparing your fillings, aim for uniformly thin slices. This makes rolling easier and gives you a balanced mix of flavors in each bite.
Use a sharp knife: A sharp knife is essential for clean-cut sushi rolls. Wet your blade with water before cutting the roll to prevent sticking and achieve professional-looking slices.
Use a makisu: For the best shape, I recommend using a bamboo sushi mat. If you don’t have one, try a flexible placemat, parchment paper, or a sturdy tea towel.
Temperature matters: Let the cooked sushi rice cool until it’s only slightly warm. Hot rice will steam and wilt the fillings, affecting the texture and taste.
Frequently asked questions
Sushi rice is essential for making sushi, especially sushi without seaweed. Regular rice varieties, like long-grain or jasmine rice, don’t have the same starch content and won’t stick together.
Wet the blade with water or rice vinegar between cuts, and apply gentle, sawing motions without pressing down too hard.
Make sure the rice is properly seasoned and evenly spread on the makisu. Roll it tightly and let it sit for a minute or two before cutting to help maintain its shape.
Storing & reheating
It’s best to consume sushi immediately after preparation, but if you need to store it, let the rice cool to room temperature before doing so.
Fridge
Sushi without seaweed can be stored in the fridge for up to 24 hours. To prevent it from drying out, place it in an airtight container. Ideally, wrap each piece of sushi individually in cling film before placing it in the container.
Freezer
I don’t recommend freezing sushi without seaweed. The texture of the fresh fillings will significantly deteriorate once it’s thawed.
If you find yourself with leftover sushi rice, follow the storage instructions in my Instant Pot sushi rice recipe, but the assembled sushi should ideally be enjoyed fresh.
More vegan Japanese recipes
Hungry for more?
If you enjoyed this recipe, please consider leaving a star rating and a comment down below! Your feedback not only helps others discover our blog but also gives us valuable insights from your experience.
Don’t forget to subscribe to our newsletter for the latest recipes, and check out our shop for our top kitchen recommendations. Thank you for supporting BBV!
Recipe

Sushi Without Seaweed (Ready in 10 Minutes)
Try sushi without seaweed for a delicious twist on traditional sushi rolls, especially if you don’t like nori! This recipe further simplifies the process by using fresh ingredients like mango, cucumber, and avocado.
Prevents your screen from going dark
- Instant Pot
- Chef’s knife
- Cutting board
- Bamboo sushi mat
- Chopsticks
Fillings
- Peel and cut the mango into long, thin slices. Wash and cut the cucumber into matchstick-sized pieces. Cut the avocado in half, remove the pit, and slice thinly.
Assembly
- Wrap a bamboo sushi mat with plastic wrap or a large freezer bag. Place a piece of dry rice paper on top. Transfer ⅔ cup of sushi rice on top with a rice paddle.
- Wet your fingers in a small water bowl, then carefully spread the rice into a thin layer all the way to the edges, leaving about ½-inch at the top end.
- Arrange mango, cucumber, and avocado slices in a line on top of the rice towards the bottom edge.
- Lift the bottom edge of the bamboo mat and roll the sushi mat over the fillings, pressing down all the way along the sushi roll (the pressure should be firm, but not so much that you squish everything).
- Pick up the tucked portion of the sushi mat and roll it a little further. Press down again, and repeat the same process until it is completely rolled.
- Wet the top edge of the rice paper with some water to help adhere it. Once the sushi is rolled, wet your fingers or a pastry brush and brush the outside of the roll with a little water to help soften the rice paper.
Serve
- Wet your knife with a damp towel to prevent sticking, then gently cut the roll into 8 pieces using long slicing motions.
- Serve immediately with soy sauce, spicy mayo, and sesame seeds. Happy eating!
Keep the fillings neatly lined up and don’t overstuff it to make rolling easier.
Practice makes perfect! Don’t worry if your first few rolls aren’t 100% — it’s all about trial and error here.
It’s MUCH easier to dampen the rice paper after rolling it. In my testing, I found it sticks way to easily to the makisu if you dampen it beforehand.
Wet an extra sharp knife with water to prevent the rice from sticking to the blade, making cutting through the sushi easier and cleaner.
Uniform slicing: When you’re preparing your fillings, aim for uniformly thin slices. This makes rolling easier and gives you a balanced mix of flavors in each bite.
Use a sharp knife: A sharp knife is essential for clean-cut sushi rolls. Wet your blade with water before cutting the roll to prevent sticking and achieve professional-looking slices.
Use a makisu: For the best shape, I recommend using a bamboo sushi mat. If you don’t have one, try a flexible placemat, parchment paper, or a sturdy tea towel.
Temperature matters: Let the cooked sushi rice cool until it’s only slightly warm. Hot rice will steam and wilt the fillings, affecting the texture and taste.
Nutritional information is a rough estimate and should not be taken as health advice.
Serving: 1roll | Calories: 277.2kcal | Carbohydrates: 51.9g | Protein: 5.3g | Fat: 5.5g | Saturated Fat: 0.8g | Polyunsaturated Fat: 0.8g | Monounsaturated Fat: 3.5g | Sodium: 13.8mg | Potassium: 308.7mg | Fiber: 5.2g | Sugar: 5.7g | Vitamin A: 458.2IU | Vitamin C: 17.5mg | Calcium: 18.9mg | Iron: 0.6mg